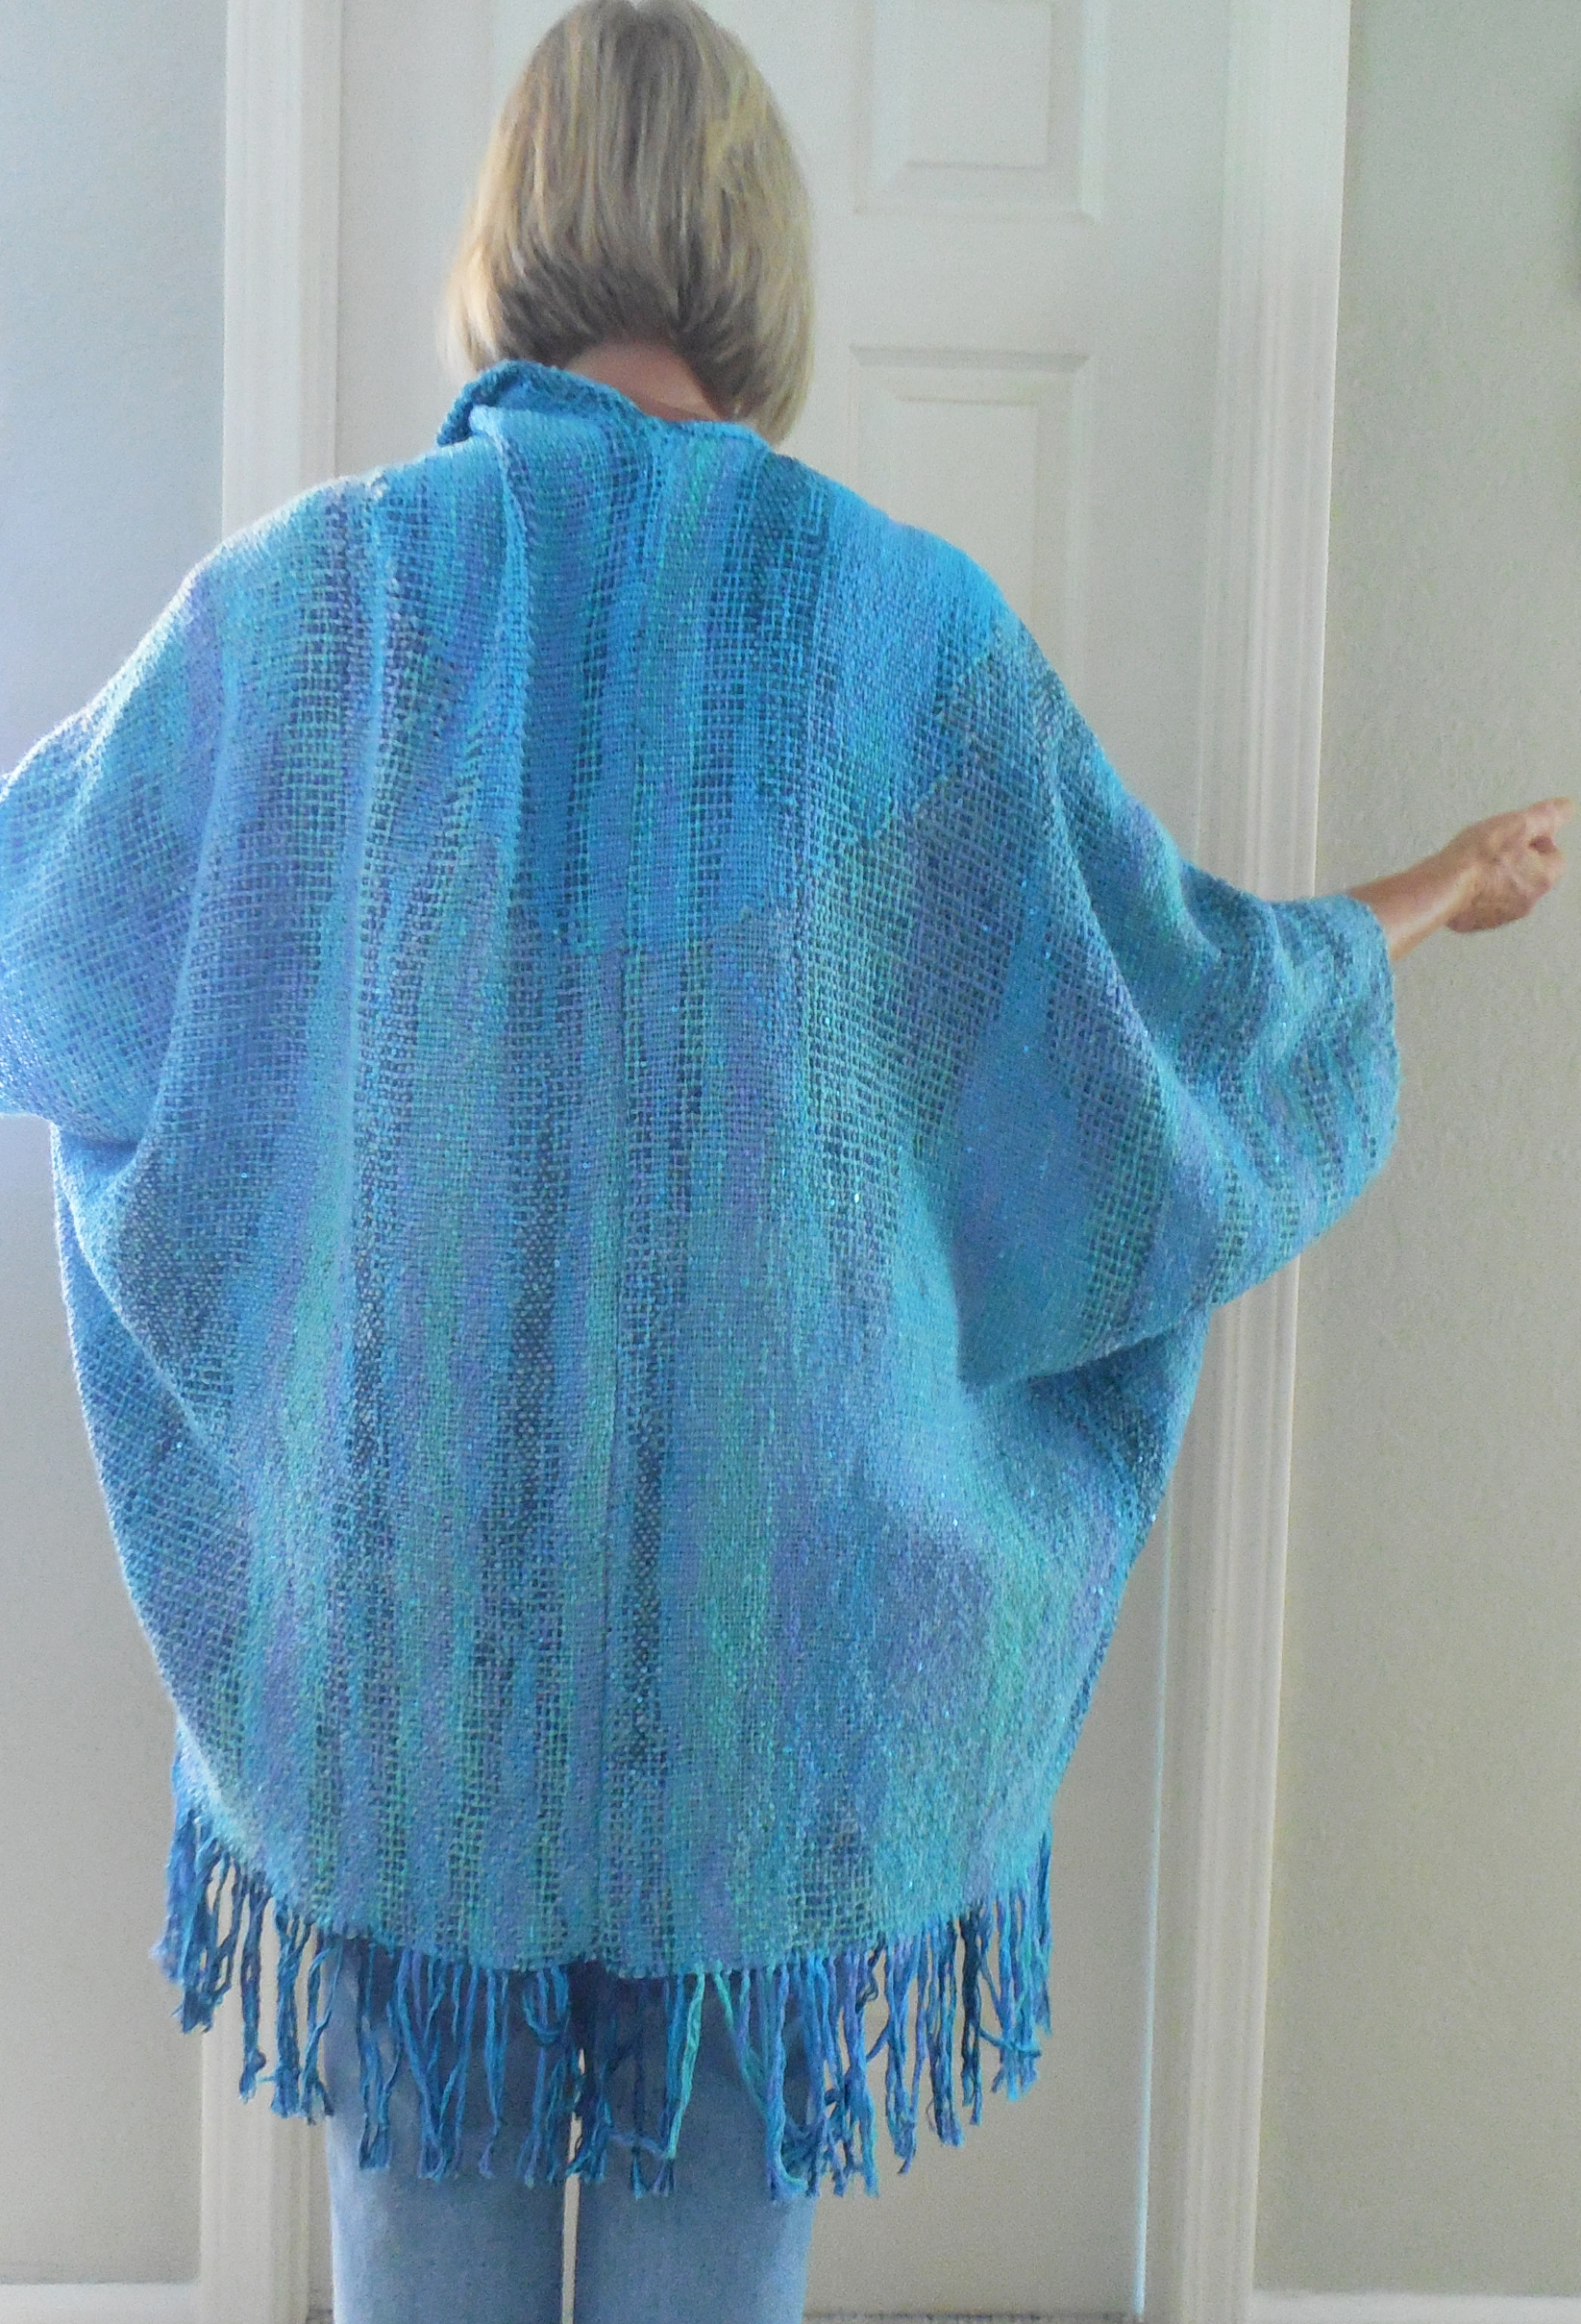
I have made a number of tops using techniques borrowed from traditional kimonos. The design is perfect for handwoven fabric because most seams are on the selvedges, which has two advantages: no need for seam finishes, and the seams can be a scant ¼ “. The same basic design can be used for a vest (open or closed down the front) or a top with sleeves of any length.
Here is a series I made using the same weave pattern. I made the blue and red vest first, then tied on the variegated reds warp yarn with red weft and made the Asian-inspired long-sleeved tunic next, then tied on again with white silk warp with tussah silk weft for the short-sleeved top accented with a crochet trim.
I don’t need a pattern for this. I plan the warp length for two times the length of the finished tunic plus 4” for hems. Add to that the length you need for sleeves. Since this has a dropped shoulder, I find I need 20” for the width of the sleeve that is seamed to the body.
Here is the bare-bones sketch of the top. The body is simply a rectangle. With no sleeves it is a vest. Sleeves of any length can be added. For the red top I had long sleeves cut to a curve at the hem. For the white top, I have sleeves that were 5” long after a ½” seam to the body and trimmed with one inch of crocheted lace in a pattern that echoed the pointy weave structure.

If your loom isn’t wide enough to do it in one rectangle, plan to weave two narrower ones and have center front/back seams.
Measurements: the width of the warp should be ½ your body circumference at the widest part + shrinkage + 1” seams allowance + ease (at least 2-3”) + take-up. In my case, my warp was 29” wide in the reed, except for the white top where lack of sufficient warp made me cut it to 26 ½”. That was barely enough but made it. Warp length was two times what I wanted for the finished length + 4” for hems + take-up/ shrinkage. I added 42” loom waste for the first (blue/red) warp, then only 20” for each of the other two warps that were tied on. For the long sleeved top I added 5’ for sleeves, and 2’ for the short sleeved top.
For symmetrical weaves and plain weave, weave the body in one big piece, keeping track of the length. At the ½ point, add a pick of a contrasting color to mark the shoulder line and center for the neck cut-out. Add another contrasting pick at the end of the body.
TIP: put a safety pin on the right side of the fabric for each piece you weave and leave it in until you are sewing. Many weaves are different on the right and wrong sides and this helps ensure you don’t accidently turn one piece the wrong way.
If you are doing a pattern with a definite “up” and “down,” you may need to cut the body piece at the shoulders and turn one of the pieces upside-down so the pattern runs the same direction on both back and front. Don’t cut until after the fabric is wet-finished.
Once your fabric is off the loom and wet finished, the sewing part is very simple. Machine-stitch with a straight stitch just inside the cutting line that separates the body piece(s) from the sleeves (if any) and zig-zag all cut edges. Do the same to cut the sleeve sections apart. If needed, now is the time to flip one piece so the patterns go in the right direction and pin at the shoulder seam.
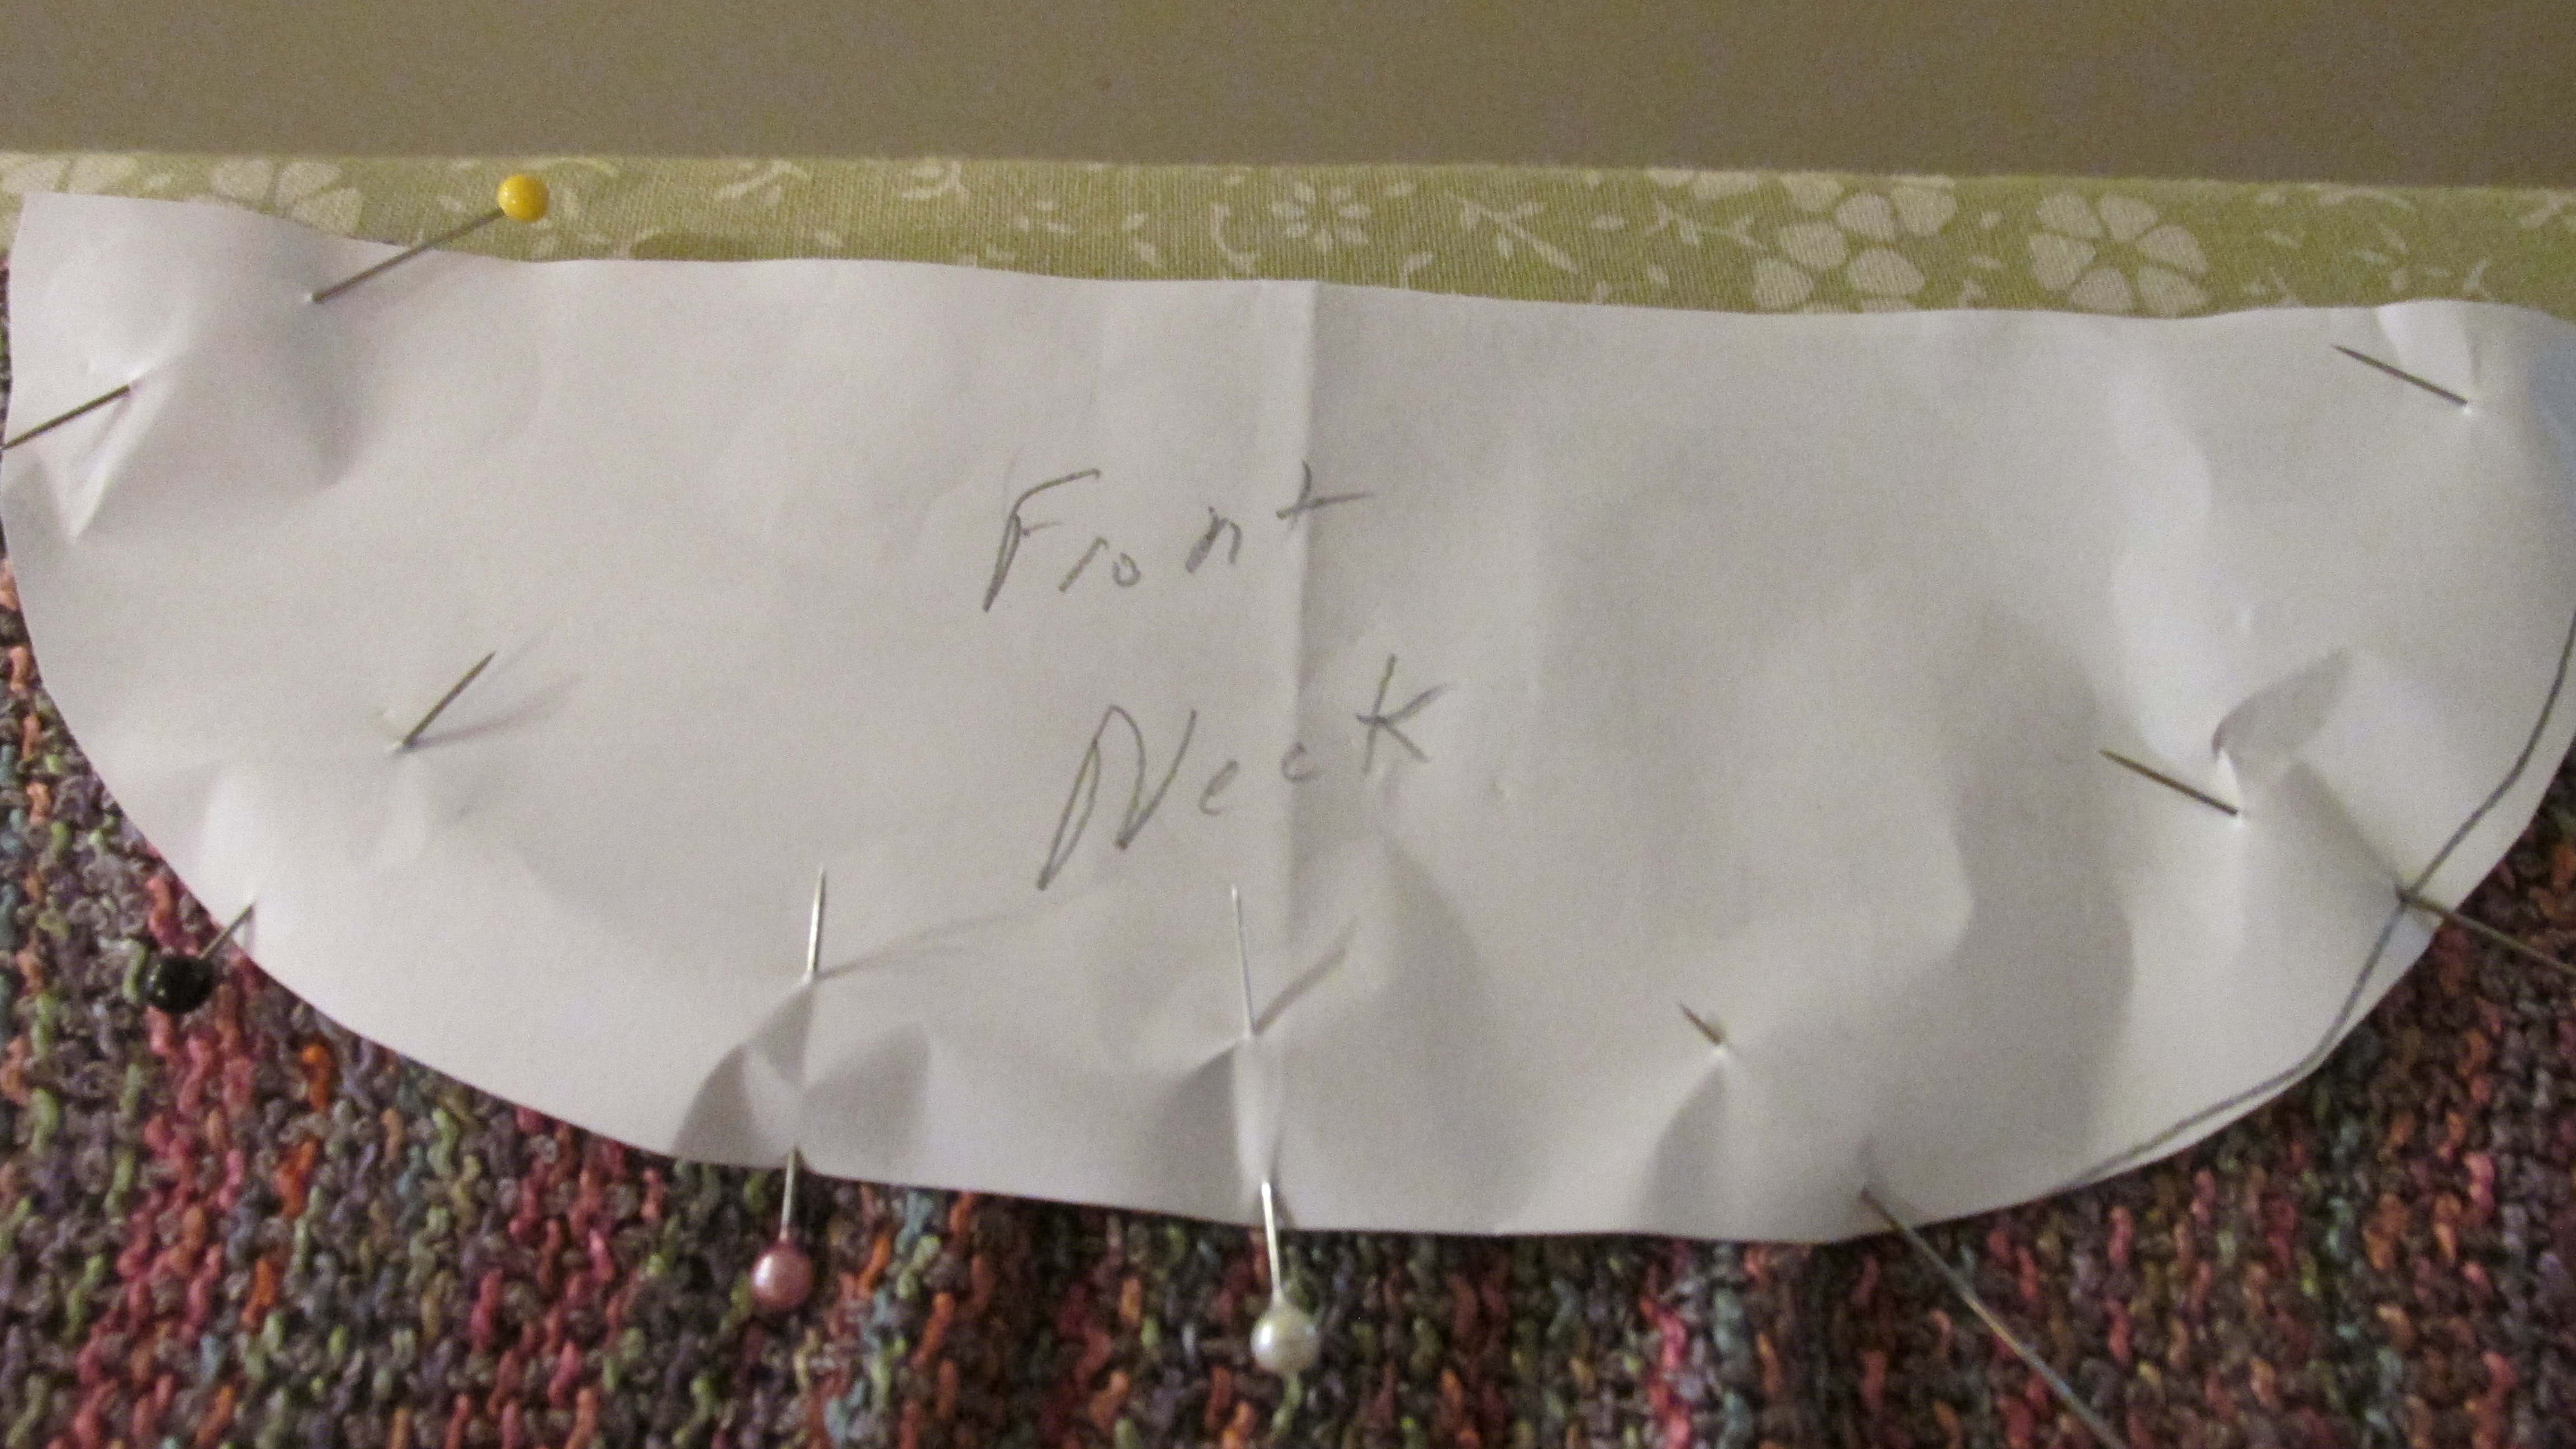
Step 1. Make a pattern for the neck. Using a regular sheet of typing paper, fold it into quarters.
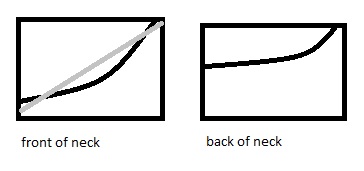
For a round or crew neck, free-hand draw a curve. You will be finishing the neckline in some way, so allow for about ¼” to seam or turn under the neckline. Have someone measure your nape across the back from side to side. In my case that is about 8” so that is what I use, and ½ of that is 4”, so I make my curve 4” wide. The standard allowance for the depth of the curve is 3” in front and 2” in back, so that is the distance I go down. Use pencil so you can erase until you are satisfied. Open out the paper at the shoulder line, but keep folded at the center line and cut out the pattern.
For my red top, I wanted a V neck so I drew a line like the gray one above from the 4” mark down to the 5” corner. I hadn’t allowed for the extra openness of the V, and that turned out a little bit big, so next time I will make it at the 3 ¾ mark for the neck width.
Step 2. Fold your material in half lengthwise and pin. Press in a fold line across the shoulder line to mark the center of the neck. Pin or baste your pattern, centering it with the vertical fold and the horizontal contrasting pick you made while weaving. Carefully machine stitch around the edge of the pattern as closely as you can. Remove the pattern and snip out the hole ¼ inch away from the stitching, then zig-zag the edges. Leave the contrasting pick at the shoulder line in the cloth. (I zig-zag the cutout and keep it as my fabric sample in my record book).
Step 3. Now is the time to finish the neckline. For the blue vest and the white top, I decided I would crochet a finish (something I do often), so I just turned under 1/4” and machine stitched a narrow hem. For the red top I planned to do a collar. Another option is to use bias tape as a small facing. For my collar, I cut a piece 1 ½” wide from my fabric and about 3” longer than I needed to go around the V neck. I used an old red silk shirt to cut a lining for the collar which I stitched to my fabric such that ¼” of silk showed at the top and the ends of the fabric were encased with the lining, then sewed the lining around the collar and extending on the right side. I hand-stitched the lining down and sewed an antique button to secure the extension. If you are using bias tape or other facing, machine stitch it to the neckline but don’t turn it under and fasten it yet.
Step 4. IMPORTANT!! Many traditional clothes get a bad rap for making “wings.”
This is because they don’t take into account that shoulders slope down from the neck. My clothes avoid this and the companion problem of bulky underarms with a very simple solution. I run a dart from near the neckline to the shoulder edge. With right sides together, fold the top along the shoulder line you marked on the fabric. (If you didn’t mark it, fold in half with the hems matched and mark the fold with a pin). Stitch your shoulder “seam” tapering from nothing right next to the neckline to about 1 ½” at the sides. Press towards the back. Now is the time to secure any facings.
Step 5. Side seams. For garments without sleeves, simply stitch the side seams up to the underarms. I generally allow an armhole of 10” from shoulder seam to top of side seam, but it could be greater or smaller. For garments with sleeves, make sure all raw edges have been zigzagged. With right sides together line up the center of the sleeve with the center of the shoulder and stitch around the sleeve. Then in one seam stitch the side seam and under arm seam as one. You may need to reinforce the seam at the underarm and snip the curve.
Step 6. Try on and make any adjustments. Hem sleeves (or, as I did on the red top, bind with bias tape) and hem. Add any further finishes (crochet neckline, etc.), press, and wear.
I hope you find this garment of interest. It is simple, versatile, and shows off weaving patterns well.